Customizing your Galaxy instance makes it more recognizable at a glance, and can help communicate its purpose to its users.
This tutorial will teach you three basic customizations you can make to Galaxy:
Setting a brand text
Setting the contact information
Adding a custom welcome page
Customizing the masthead using themes
For this tutorial we will be setting up a fictional instance called “Galaxy Mars”.
Feel free to use the included material in the hands-on sections, or provide your own.
The brand text in Galaxy refers to the text you can see in the masthead of some Galaxy instances.
This text will appear in the masthead, as well as the sites title.
It is an easy way to set your instance apart, and make it more identifiable.
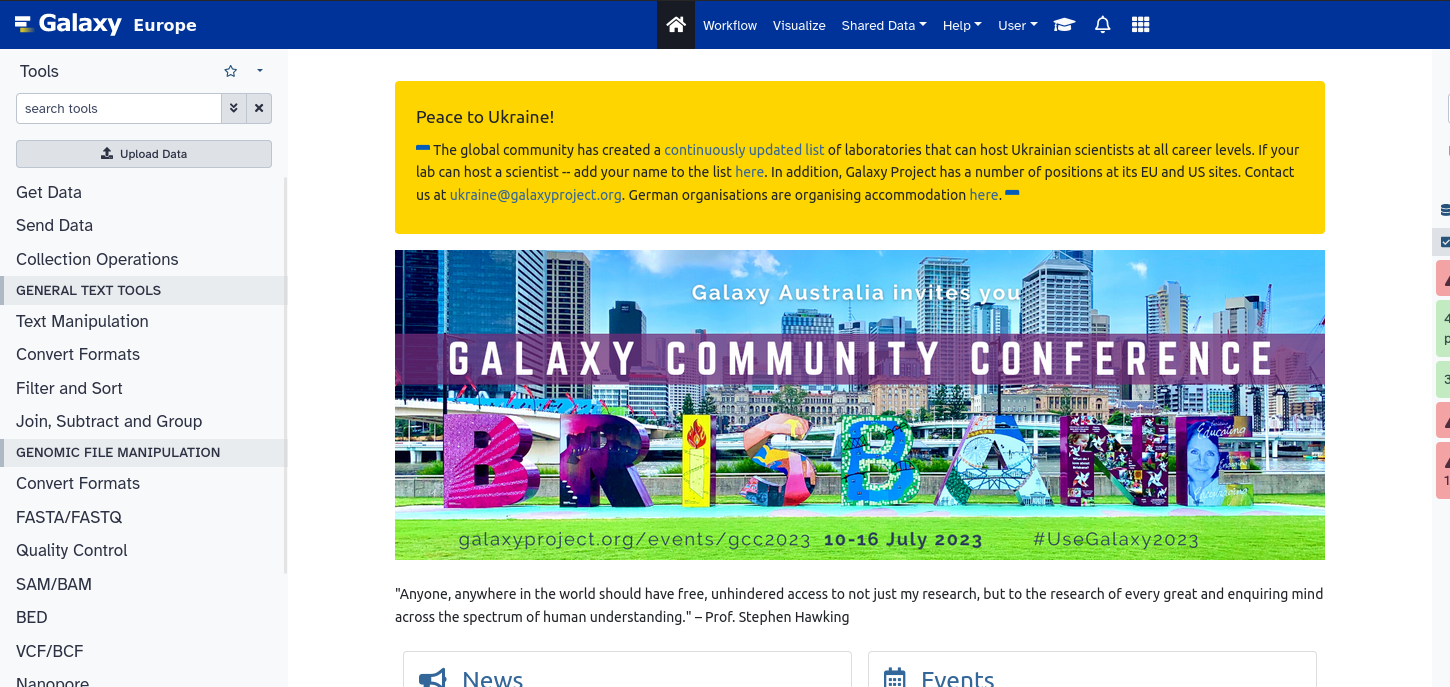
Figure 2: Your Galaxy start page should now look something like this
Configuring Support
The Galaxy Help Site (https://help.galaxyproject.org) receives a lot of user support questions, sometimes for Galaxies that we do not manage. Including support information inside your Galaxy can help users find the right place to ask about issues with tools or quotas!
Hands On: Adding Support Information
Open your group_vars/galaxyserers.yml and the following option under galaxy_config.galaxy:
Ideally this would point to a support URL and a terms of service that are appropriate to your deployment of Galaxy. You could, for instance, add a page on your group’s blog with the appropriate contents of who should be contacted in case of issue, their email or a ticketing system. These options will help users from your site find you when they need help.
Custom Welcome Page
The welcome page is an html document embedded in Galaxy’s start page.
It is what users see when first navigating to your instance.
This page can be used to communicate what your instance is about, and share news and updates with your users.
Hands On: Creating a custom welcome page
Set the location of your welcome page in group_vars/galaxyservers.yml
Under galaxy_config.galaxy specify the location of your welcome page
Let’s then develop the associated template, add a title and some text to our welcome page:
--- /dev/null
+++ b/files/galaxy/welcome.html
@@ -0,0 +1,11 @@+<!DOCTYPE html>
+<html lang="en">
+ <head>
+ <meta charset="utf-8">
+ <link href="/static/dist/base.css" rel="stylesheet" type="text/css" />
+ </head>
+ <body>
+ <h1>Welcome to the Galaxy Mars instance!</h1>
+ <p>The only Galaxy instance on mars.</p>
+ </body>
+</html>
This works the same as any other html page. You can add styles in the head, or import some scripts.
Make sure your welcome page has exactly one h1 element, which describes the page.
This will act as the heading for your start-page, which can help assistive technologies.
Now that we have a proper welcome page, we’ll also need to correct our nginx routes:
--- a/templates/nginx/galaxy.j2
+++ b/templates/nginx/galaxy.j2
@@ -40,7 +40,7 @@ server {
 	# automatically copied around. The welcome page is one of them. In
 	# production, this step is skipped, so we will manually alias that.
 	location /static/welcome.html {
-		alias {{ galaxy_server_dir }}/static/welcome.sample.html;
+		alias {{ galaxy_mutable_config_dir }}/welcome.html;
 		expires 24h;
 	}
Run the playbook.
Code In: Bash
ansible-playbook galaxy.yml
A lot of the UseGalaxy.* instances choose to use their welcome.html to display an IFrame to a different site,
e.g. the GalaxyProject.org site, or a sub-site thereof.
This makes it easier for non-administrators to keep the homepage’s contents
up to date. By embedding (for example) a Wordpress blog in the center,
non-technical contributors can still publish articles and announcements
without having to re-deploy Galaxy every time.
As in our example welcome.html, we’ve loaded the default Galaxy CSS to keep
it consistent with the surrounding material. If you wish to load a different
CSS file, or set a different font for the main panel, you can easily do that
by adding whatever CSS you like.
Custom Masthead Theme
Galaxy’s theming system allows you to easily change the color of your Masthead, to give your instance an even more distinct look.
You can even offer several options, to allow users to switch to the default if they prefer it, or another look all together.
Hands On: Configuring Themes
Set the location of the themes configuration in your group_vars/galaxyservers.yml
The themes file can contains themes for users to select in Galaxy.
Each theme is identified by its id, eg blue, and followed by a set of
rules, which style the client. The first theme in your theme file will be
used as the default theme, which users see when visiting your instance,
and which users who haven’t logged in will see.
Creating our own Theme
Let’s create a theme more fitting for our Mars instance.
Create a new theme, by adding mars: to the top of the themes config file.
Now add masthead: underneath, and then color:.
Set color to "#e03e1d", a nice deep martian red.
If you’re using git to track your progress, remember to add your changes and commit with a good commit message!
Comment: Galaxy Admin Training Path
The yearly Galaxy Admin Training follows a specific ordering of tutorials. Use this timeline to help keep track of where you are in Galaxy Admin Training.
Did you use this material as an instructor? Feel free to give us feedback on how it went.
Did you use this material as a learner or student? Click the form below to leave feedback.
Hiltemann, Saskia, Rasche, Helena et al., 2023 Galaxy Training: A Powerful Framework for Teaching! PLOS Computational Biology 10.1371/journal.pcbi.1010752
Batut et al., 2018 Community-Driven Data Analysis Training for Biology Cell Systems 10.1016/j.cels.2018.05.012
@misc{admin-customization,
author = "Laila Los",
	title = "Customizing the look of Galaxy (Galaxy Training Materials)",
	year = "",
	month = "",
	day = "",
	url = "\url{https://training.galaxyproject.org/training-material/topics/admin/tutorials/customization/tutorial.html}",
	note = "[Online; accessed TODAY]"
}
@article{Hiltemann_2023,
	doi = {10.1371/journal.pcbi.1010752},
	url = {https://doi.org/10.1371%2Fjournal.pcbi.1010752},
	year = 2023,
	month = {jan},
	publisher = {Public Library of Science ({PLoS})},
	volume = {19},
	number = {1},
	pages = {e1010752},
	author = {Saskia Hiltemann and Helena Rasche and Simon Gladman and Hans-Rudolf Hotz and Delphine Larivi{\`{e}}re and Daniel Blankenberg and Pratik D. Jagtap and Thomas Wollmann and Anthony Bretaudeau and Nadia Gou{\'{e}} and Timothy J. Griffin and Coline Royaux and Yvan Le Bras and Subina Mehta and Anna Syme and Frederik Coppens and Bert Droesbeke and Nicola Soranzo and Wendi Bacon and Fotis Psomopoulos and Crist{\'{o}}bal Gallardo-Alba and John Davis and Melanie Christine Föll and Matthias Fahrner and Maria A. Doyle and Beatriz Serrano-Solano and Anne Claire Fouilloux and Peter van Heusden and Wolfgang Maier and Dave Clements and Florian Heyl and Björn Grüning and B{\'{e}}r{\'{e}}nice Batut and},
	editor = {Francis Ouellette},
	title = {Galaxy Training: A powerful framework for teaching!},
	journal = {PLoS Comput Biol}
}
Funding
These individuals or organisations provided funding support for the development of this resource
Congratulations on successfully completing this tutorial!
5 stars
2
July 2024
5 stars:
Liked: I like to custom my galaxy server, so I find this section really interesting
Disliked: When I choose new theme at the preferences, the server not automatically change unless I reload the page :(
Questions:
 Open image in new tab
Open image in new tab