Learning with RMarkdown in RStudio
Learning with RMarkdown is a bit different than you might be used to. Instead of copying and pasting code from the GTN into a document you’ll instead be able to run the code directly as it was written, inside RStudio! You can now focus just on the code and reading within RStudio.
-
Load the notebook if you have not already, following the tip box at the top of the tutorial

-
Open it by clicking on the
.Rmdfile in the file browser (bottom right)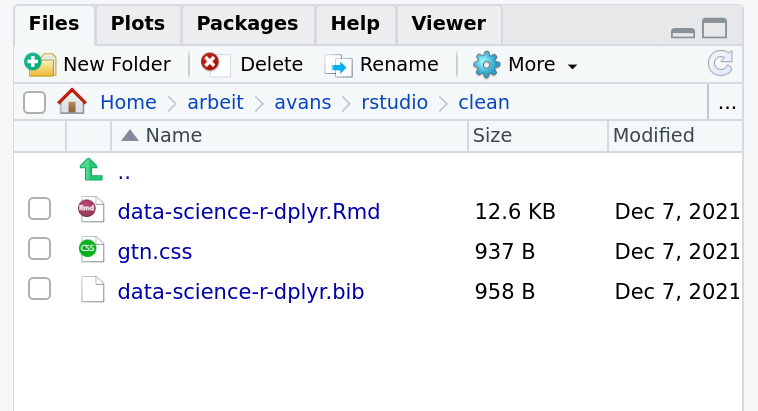
-
The RMarkdown document will appear in the document viewer (top left)
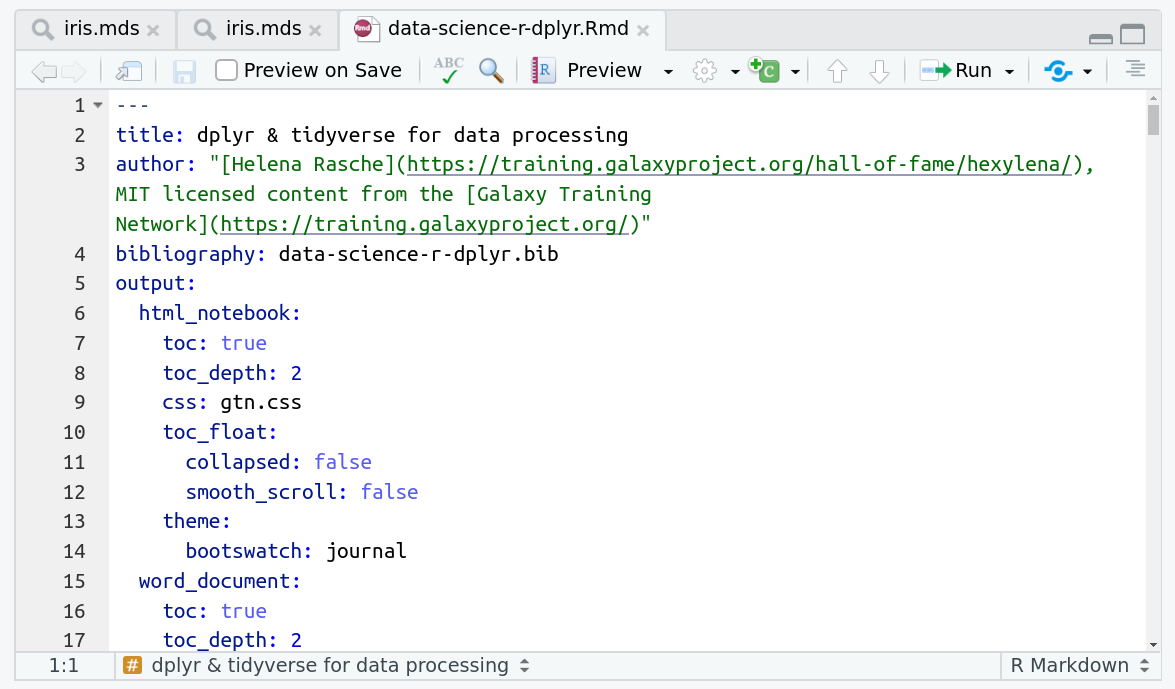
You’re now ready to view the RMarkdown notebook! Each notebook starts with a lot of metadata about how to build the notebook for viewing, but you can ignore this for now and scroll down to the content of the tutorial.
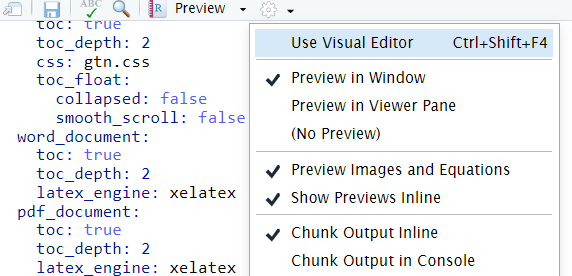
You can switch to the visual mode which is way easier to read - just click on the gear icon and select Use Visual Editor.
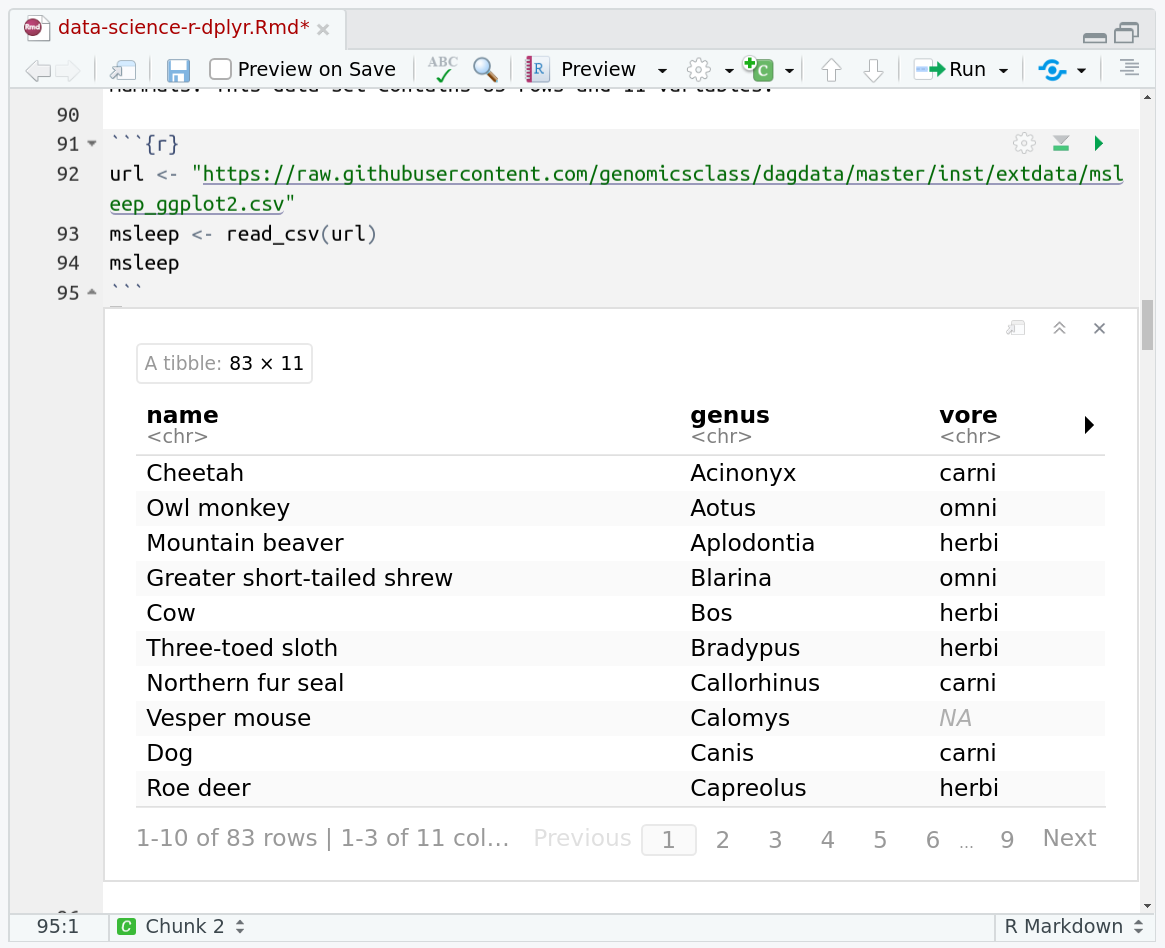
You’ll see codeblocks scattered throughout the text, and these are all runnable snippets that appear like this in the document:
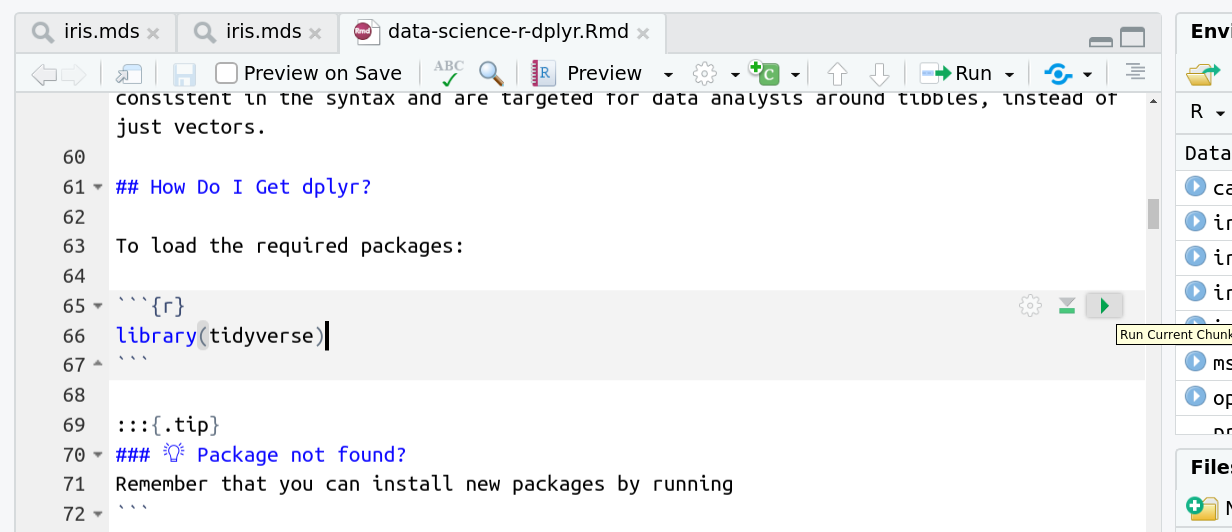
And you have a few options for how to run them:
- Click the green arrow
- ctrl+enter
-
Using the menu at the top to run all
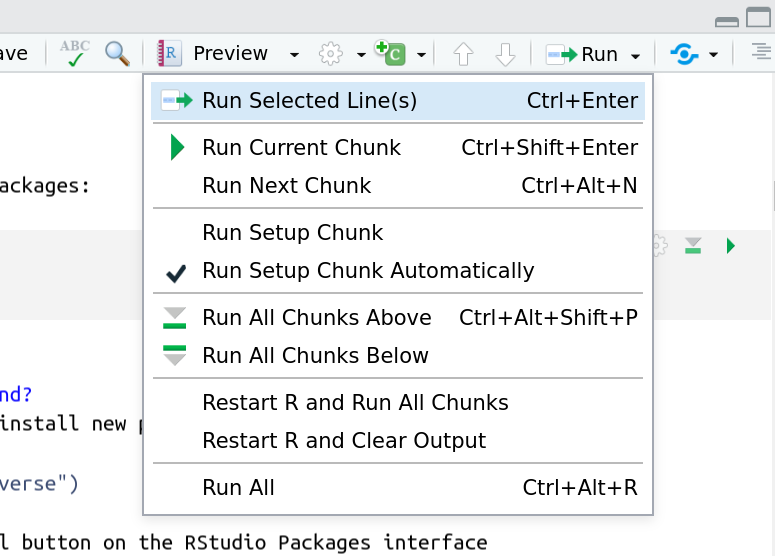
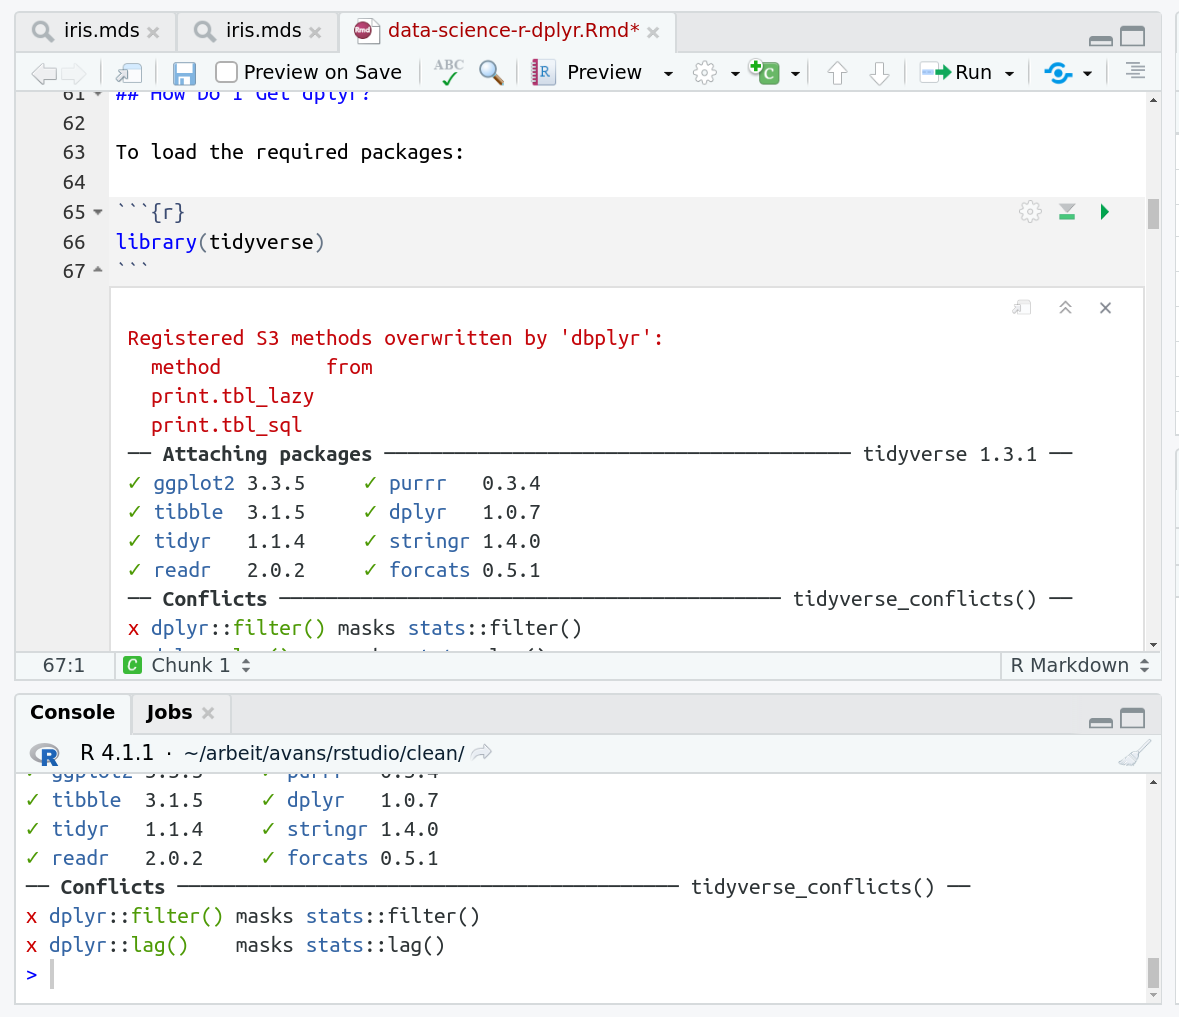
When you run cells, the output will appear below in the Console. RStudio essentially copies the code from the RMarkdown document, to the console, and runs it, just as if you had typed it out yourself!
One of the best features of RMarkdown documents is that they include a very nice table browser which makes previewing results a lot easier! Instead of needing to use head every time to preview the result, you get an interactive table browser for any step which outputs a table.
